Generating Social Share Images With Ruby
published 02/21/21
Inspired by my pal Steve and his post about Generating Social Sharing Images In Eleventy, I decided to work on generating social share images for my blog. I spent a lot of time on this, probably a lot more than I should have!
The Results
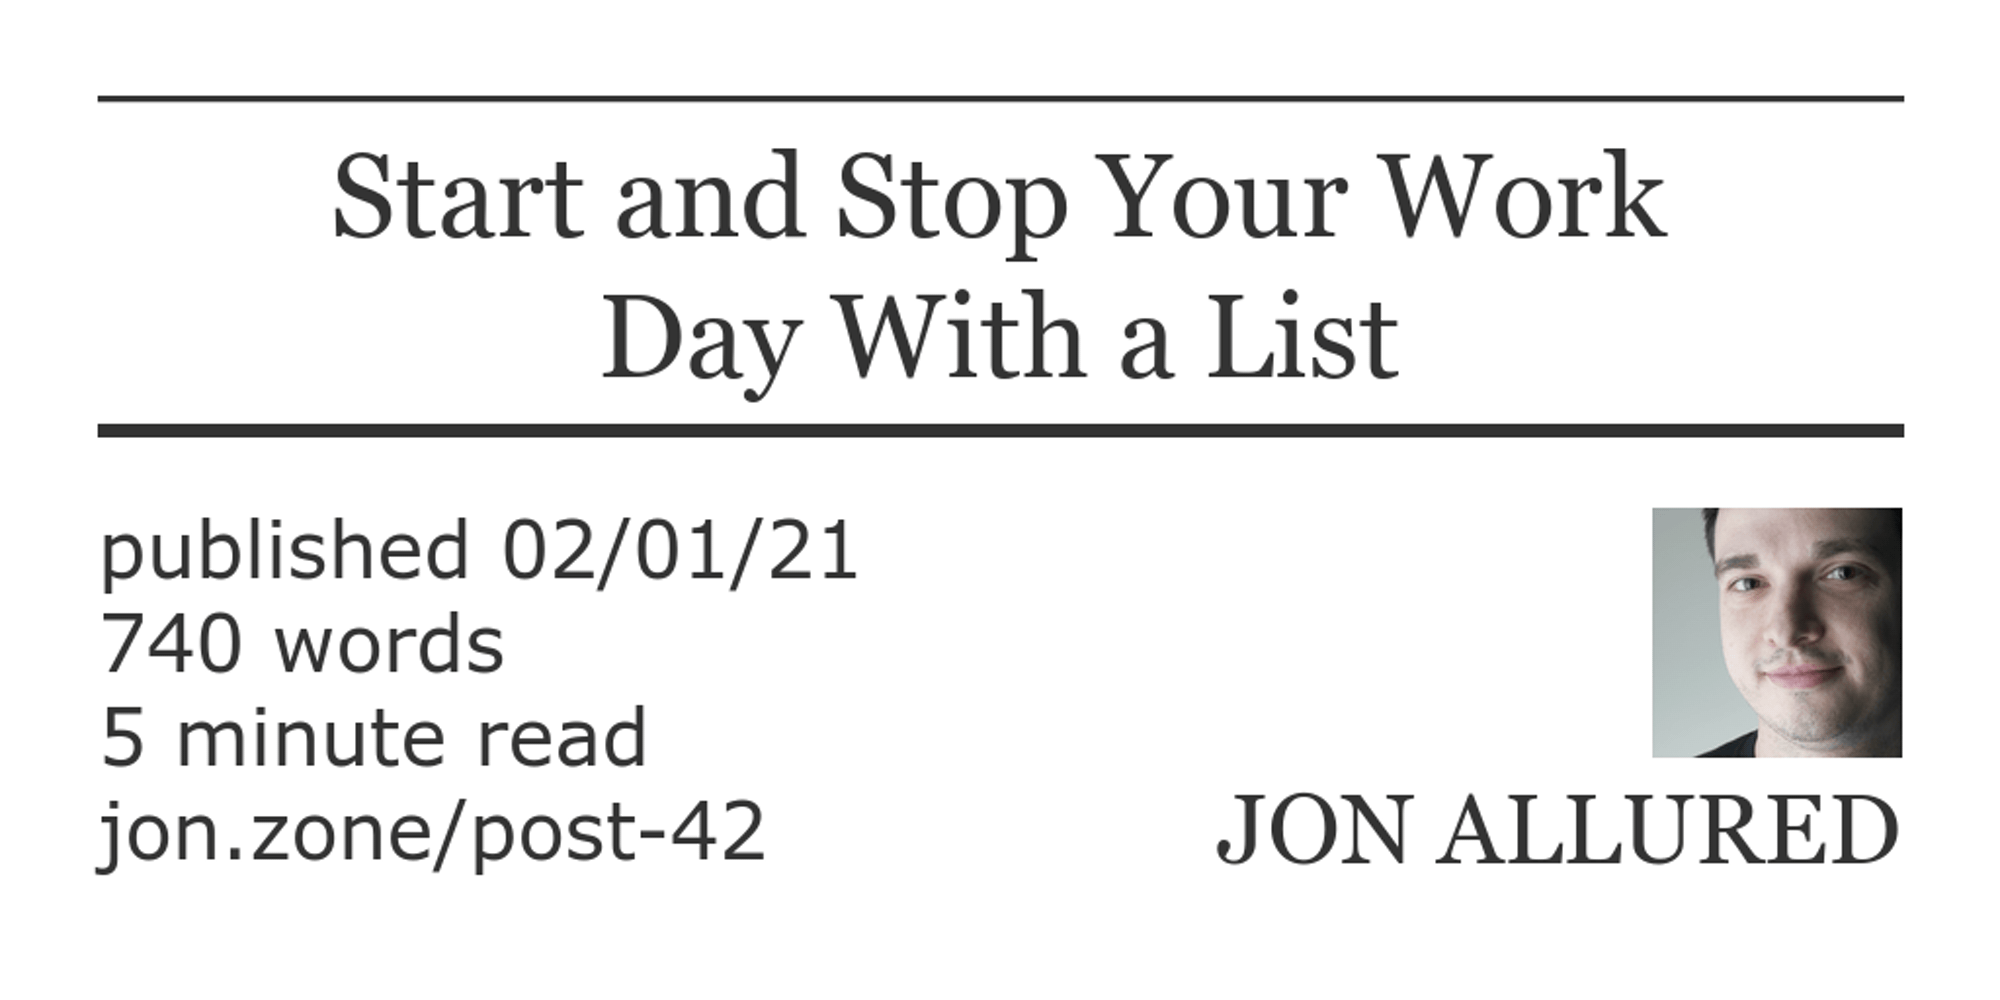
I think they turned out pretty great:

I've got the title of the post laid out nice and big in the center of the top part and then I added some meta info and a headshot plus my name.
The Rake Tasks
There are two rake tasks that I use to produce these images - one
takes a path and produces the image for that particular post and the other
produces images for all posts found in the /source/posts folder.
I used the all_social_images task to backfill the images for all my existing
posts and going forward I can use the social_image task for new ones.
The Ruby Classes
There are two Ruby classes that collaborate to make a social share image:
PostParser- given a path, produce an options hashSocialImage- given an options hash, use rmagick to write out a PNG
This contract between two classes is great because it allowed me to separate the activities of parsing and dealing with data from the procedural code around drawing. I used this seam to get tests around the parsing which was so helpful as I bumped up against edge cases.
Parsing a Post into Options
My drawing code wants options that look like this:
{
  output_path: "source/images/post-42/social-share.png",
  published_at: Date.parse("2021-02-01"),
  reading_time: 5,
  shrt_url: "jon.zone/post-42",
  title_parts: ["Start and Stop Your Work", "Day With a List"],
  word_count: 740
}
The parsing code is responsible for producing this hash which was mostly easy
except for dealing with the title. In fact, I extracted a class called
TitleParser specifically for parsing post titles!
The Initial Naive Approach
I was surprised to discover that the hardest part of this project was figuring out how to wrap the blog post titles. My design supported either a one or two line title and I assumed rmagick would have some trick where I could send it some text and the number of lines allowed and it would figuring things out - nope!
My first approach was naive but actually got me pretty far: split the title
string on space and divide the array into two equal parts. Turns out
ActiveSupport has a nice method for this called in_groups:
> title = 'Playing Around With Content Editable in Rails'
> title_words = title.split
> grouped_words = title_words.in_groups(2, false)
# =>
  [
    ['Playing', 'Around', 'With', 'Content'],
    ['Editable', 'in', 'Rails']
  ]
)
> title_parts = grouped_words.map { |group| group.join(' ') }
# =>
  [
    'Playing Around With Content',
    'Editable in Rails'
  ]
)
Take a title with 7 words, split it by space and then ask for two groups with no filler. Join those nested groups and return our two title parts. We get a pretty good balance here and this looked good when the PNG was ultimately produced for this particular blog post.
The Workflow
Some titles are short and fit on one line, others are very long and need to have
... added at the end. Then there are the multitude in between. In order to
make progress and not get stuck on perfecting my algorithm for this
wrapping/snipping code I ended up with a workflow like this:
- run
rake all_social_imagesto use my current algorithm on all posts - open each image in Preview.app and decide if the title looked good enough
- commit the ones that I liked
- pick one of the ugly ones and write a failing test
- improve title parsing algorithm
- repeat
This process helped me discover the titles that were easy and get those committed and shipped. The problematic ones I could come back to and write a test case to specify how I wanted the title to be parsed. That set me up to turn back to the implementation code and adjust things to make the tests pass. TDD for the win!
Testing Title Parsing
The TitleParser class takes a title and then returns an array of parts.
Writing tests for this ended up being pretty nice:
# spec/lib/title_parser_spec.rb

RSpec.describe TitleParser do
  describe 'with a short title' do
    it 'returns one title part' do
      title = 'Dealing With Rotten Links'
      parts = TitleParser.parse(title)
      expect(parts).to eq(
        [
          'Dealing With Rotten Links'
        ]
      )
    end
  end

  # and more...
end
I could find an ugly image, copy the title into a new test and then tinker until I got it working the way I wanted. Then since the ones I liked were already checked in, I could ensure my new algorithm didn't screw anything up.
Open Graph Meta Tags
The next step was to add meta tags for these social share images. Turns out
there is an open source protocol for this called The Open Graph protocol.
These tags are added to the head of your html document and allow a site like
Twitter to detect them and properly present my content. I ended up discovering
Unfurler as a way to troubleshoot things because I couldn't quite get it to
work the way I expected at first but here's an example of how it looks:
<meta name='twitter:card' content='summary_large_image'>
<meta property='og:description' content='I've developed a habit that's at the heart of my personal operating system: I start and stop my work day with a list. Let's talk about what this means and how it's improved my work life. What Does This Even Mean? It means that when I sit down at...'>
<meta property='og:image' content='https://www.jonallured.com/images/post-42/social-share.png'>
<meta property='og:title' content='Start and Stop Your Work Day With a List'>
<meta property='og:url' content='/posts/2021/02/01/start-and-stop-your-work-day-with-a-list.html'>
Unfurled on Twitter
And here's how it looks on Twitter in all it's unfurled glory:

Forty's Blog Got Them Too
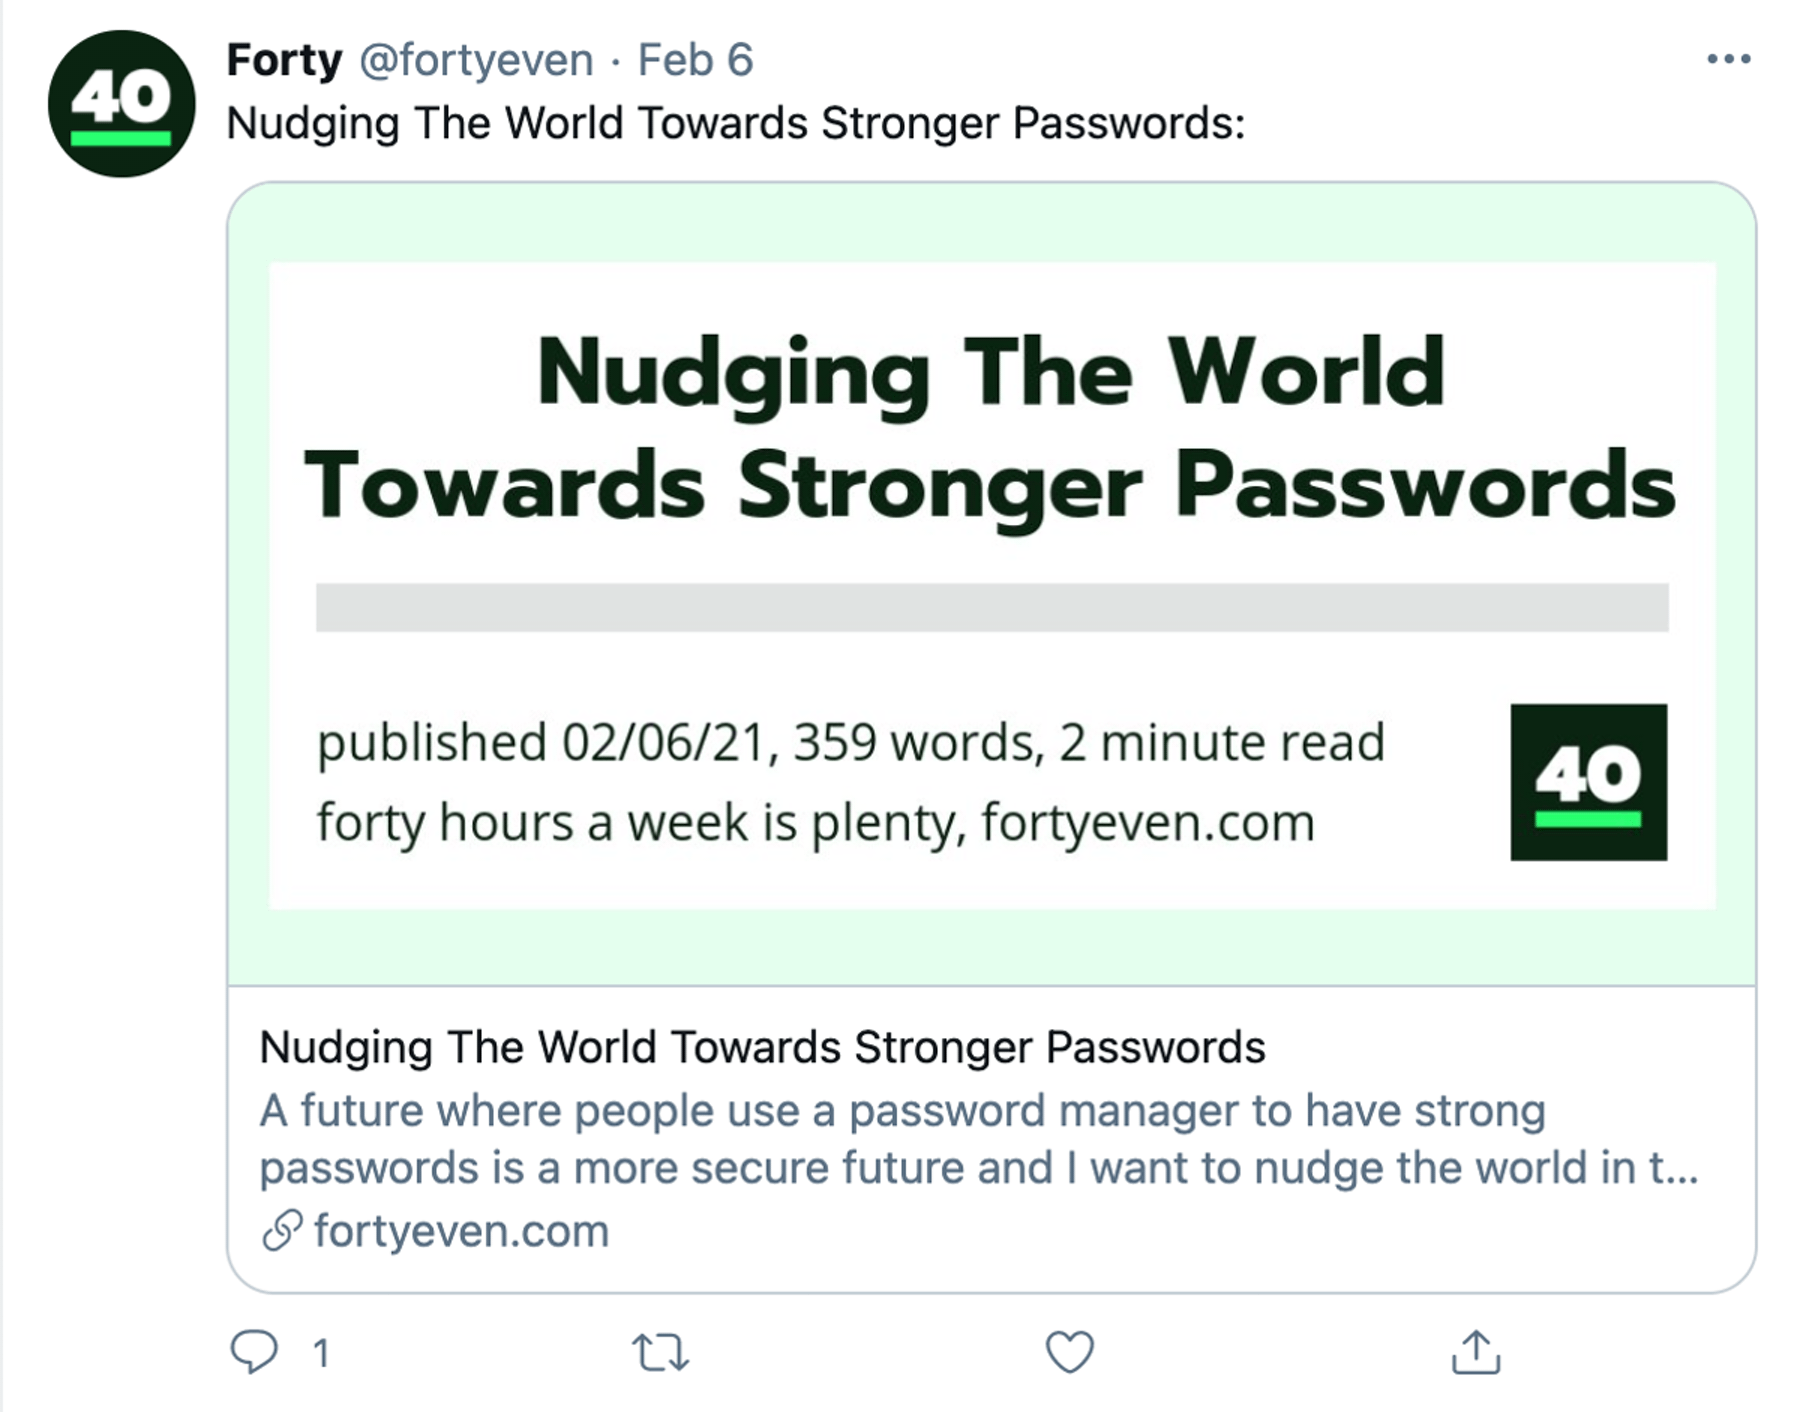
I also did this for the Forty blog:
